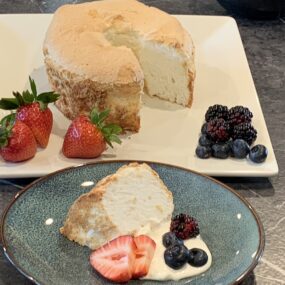
Gluten Free Angel Food Cake
Equipment
- Stand Mixer or Hand Mixer With whisk attachment
- Angel Food Pan 1 10" pan or 2 7"pans
- Whisk
- Flour Sifter or fine mesh strainer
Ingredients
- 1/4 Cup Potato Starch
- 3/4 Cup White Rice Flour
- 3/4 Cup Superfine Sugar
- 1 1/2 Cups Egg Whites (9-11 large egg whites)
- 1 1/2 tsp Cream of Tartar
- 1/2 tsp Salt
- 2 tsp Vanilla Extract
- 1/4 tsp Almond Extract (Optional)
- 3/4 Cup +2 TBS Superfine Sugar
Instructions
- Preheat oven to 350°
- Place one 10" or 2 7" Angel Food Pans on a baking sheet and set aside for later. DO NOT GREASE OR OIL!
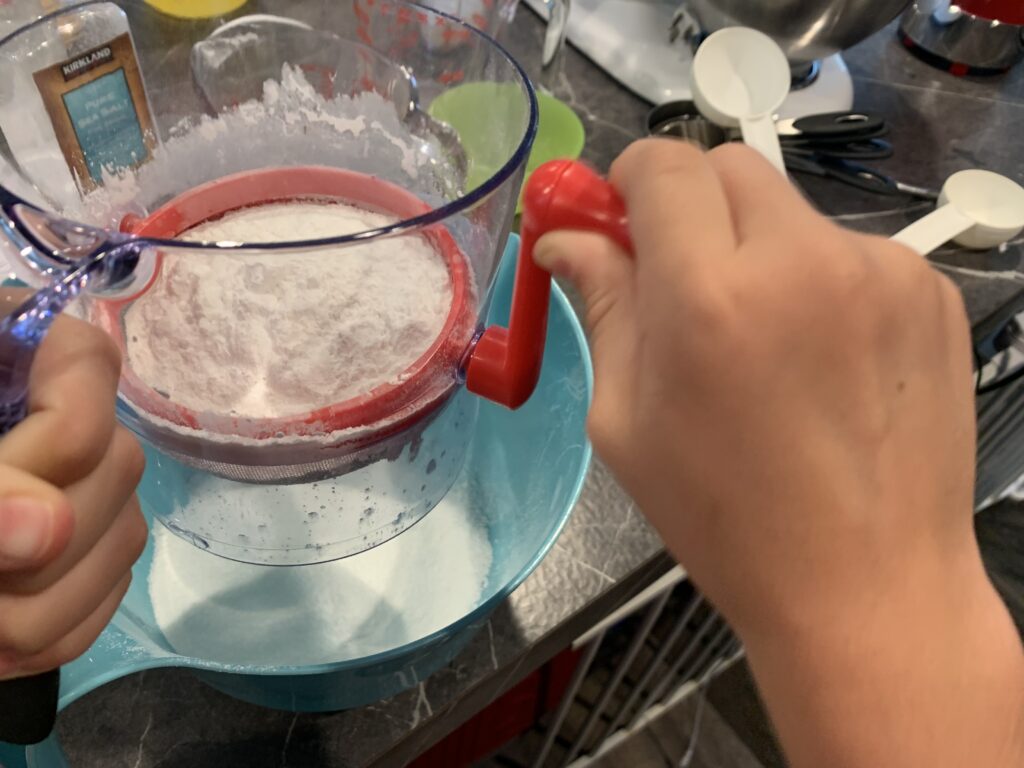
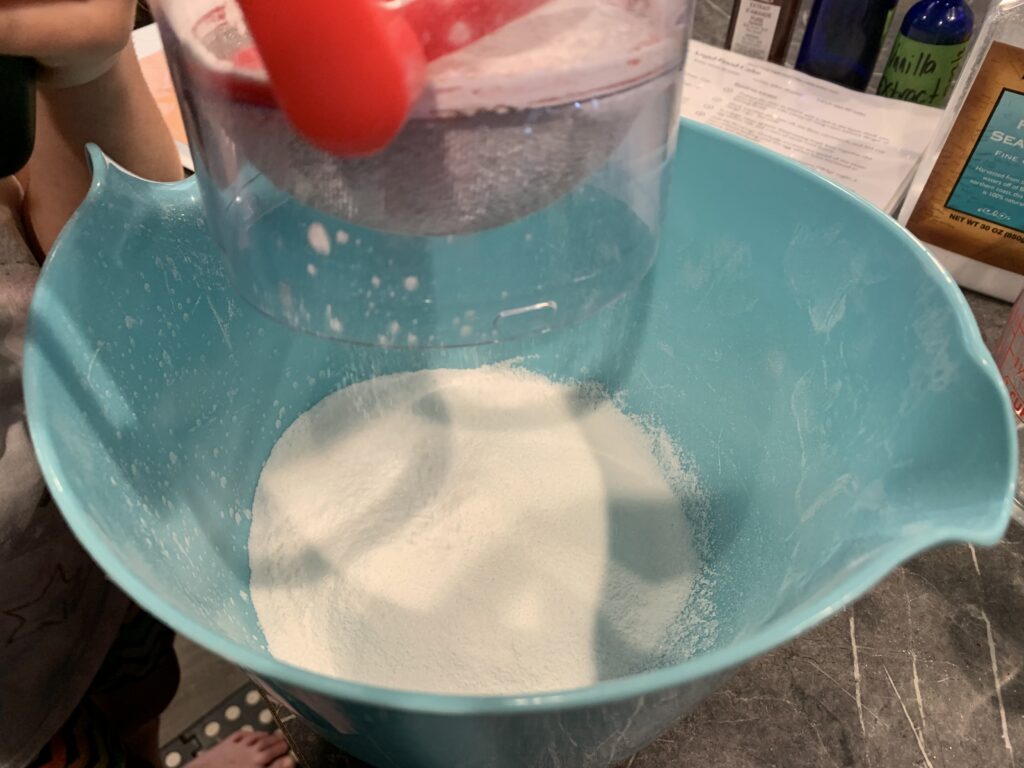
- Whisk and sift White Rice, Potato Starch, and 3/4 C. Sugar. Set aside.1/4 Cup Potato Starch, 3/4 Cup White Rice Flour, 3/4 Cup Superfine Sugar
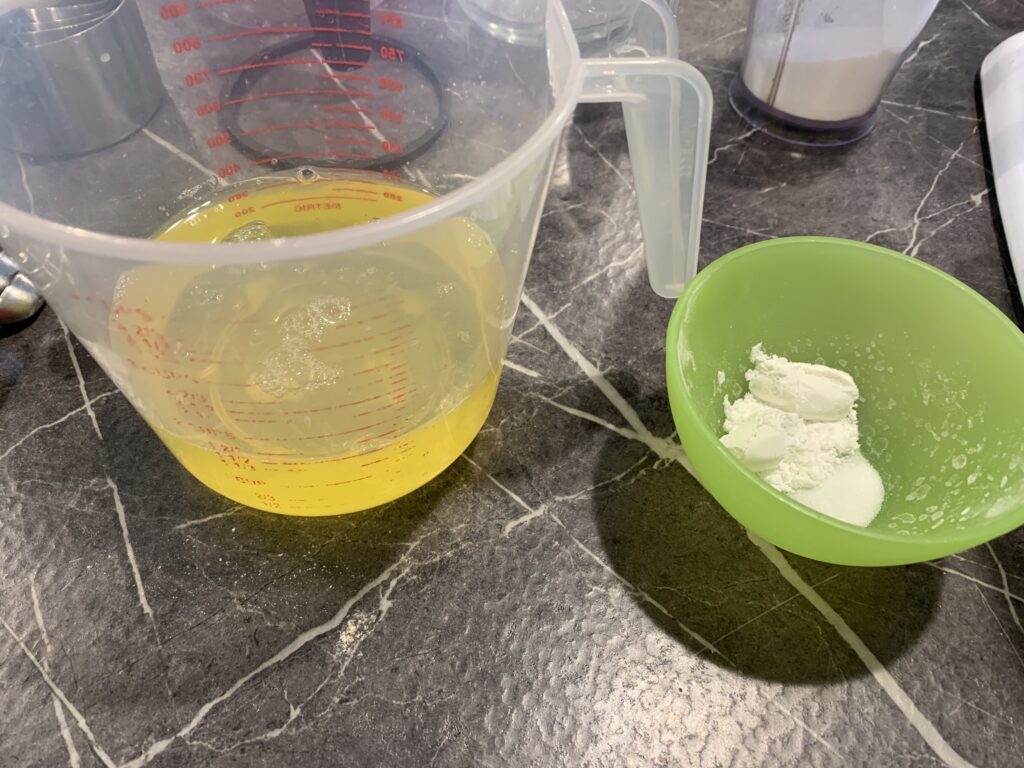
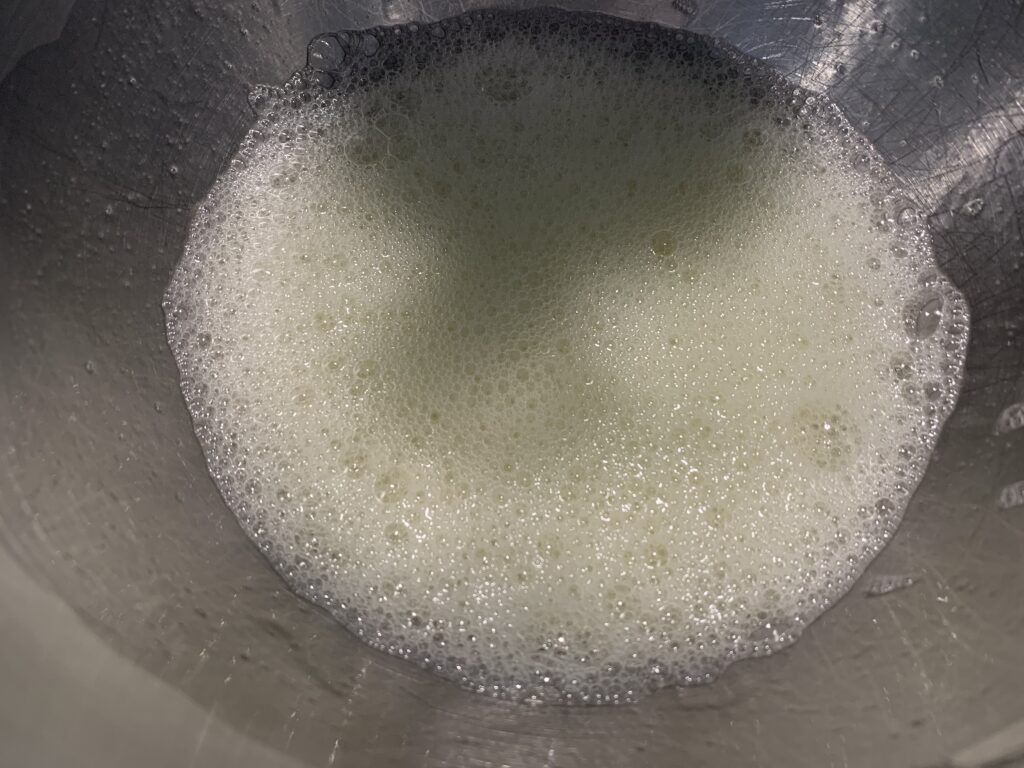
- In a large grease free mixing bowl, beat together the Egg whites, Cream of Tartar, and Salt. Whisk until foamy1 1/2 Cups Egg Whites, 1 1/2 tsp Cream of Tartar, 1/2 tsp Salt
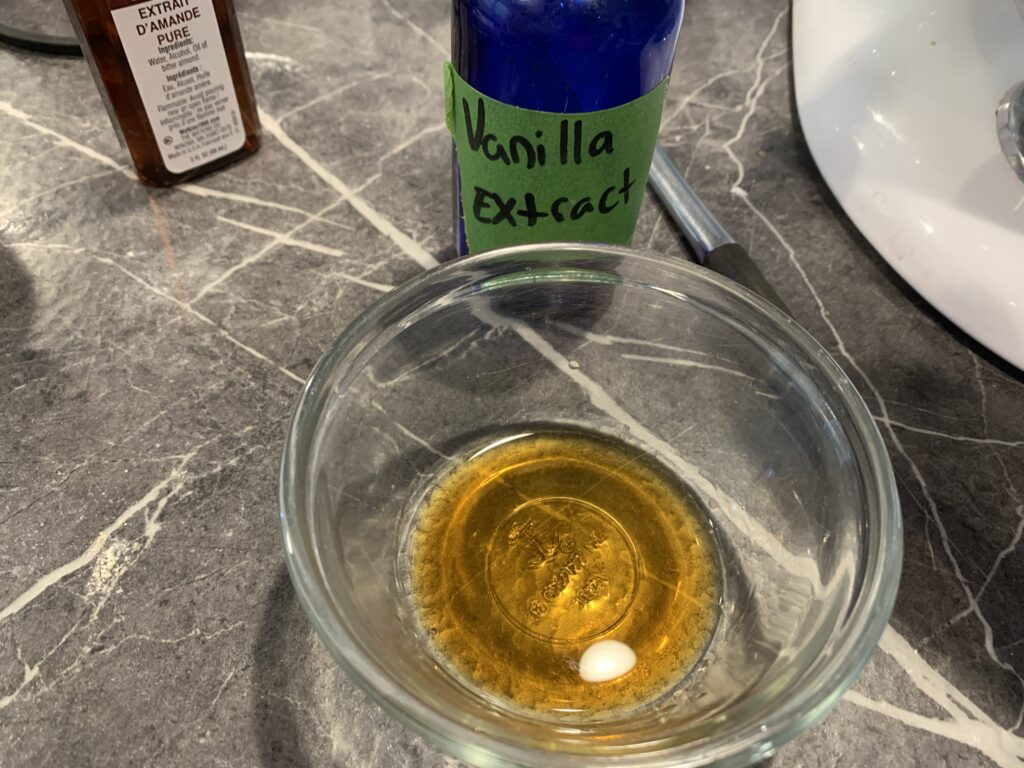
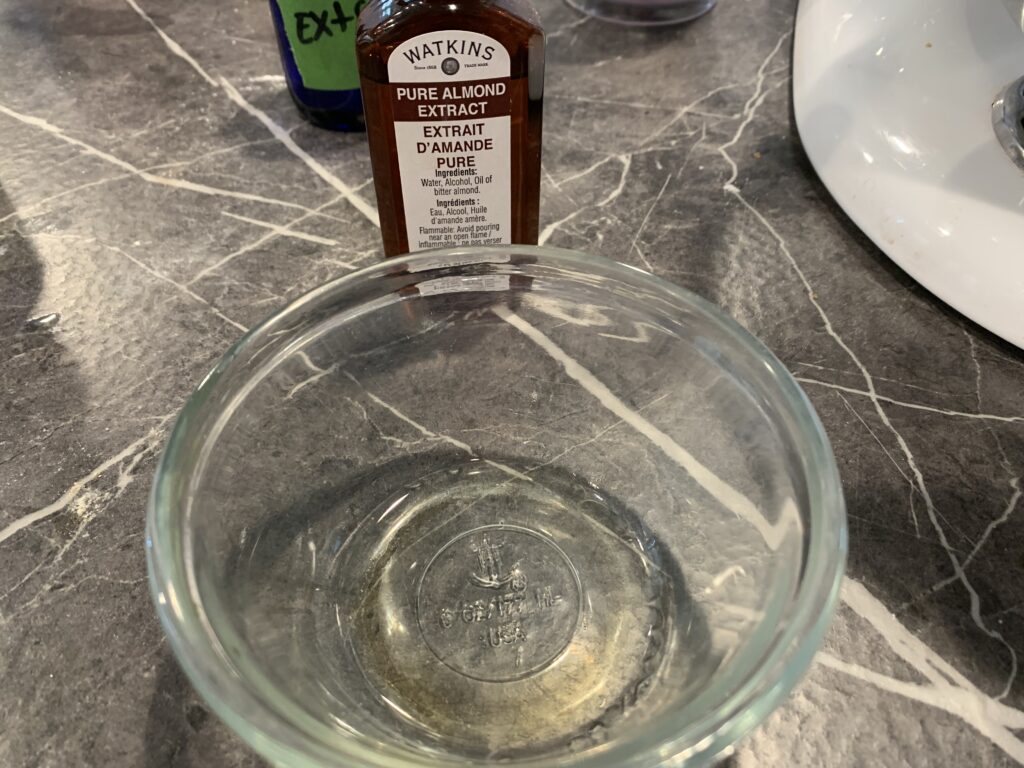
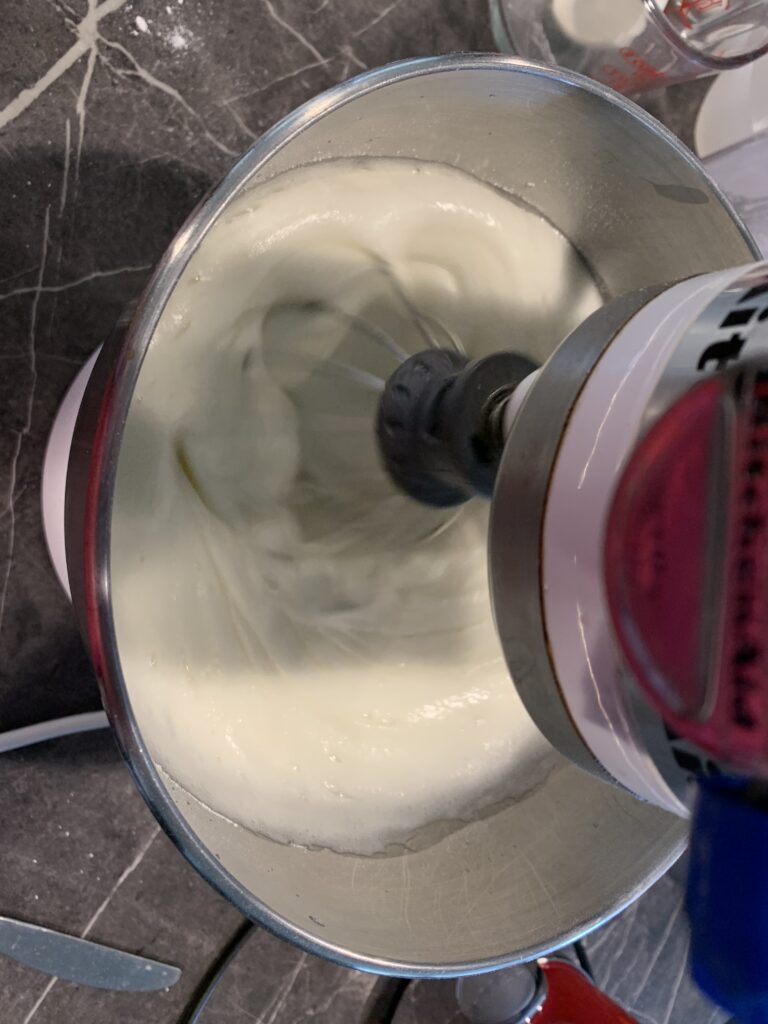
- Add the flavoring Extracts. Gradually increase the speed of the mixer and keep whisking until the egg whites have thickened and increased in volume.2 tsp Vanilla Extract, 1/4 tsp Almond Extract
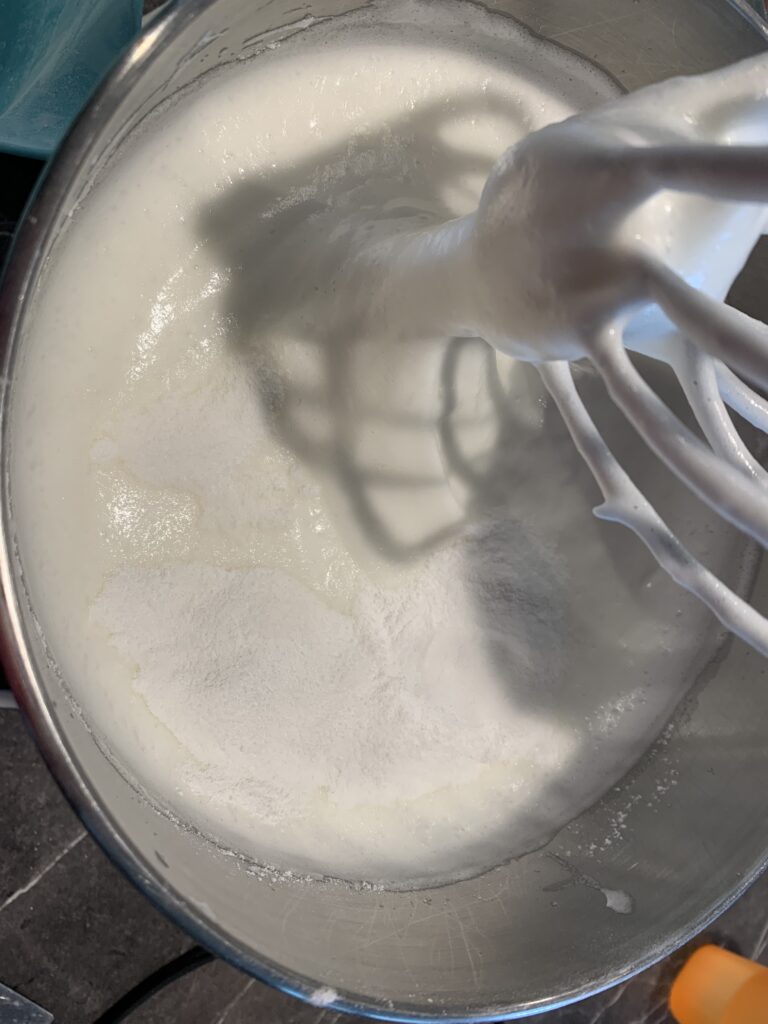
- Add the 3/4 cup plus 2 TBS of Sugar gradually. Whisk until the meringue holds soft peaks.3/4 Cup +2 TBS Superfine Sugar
- When meringue reaches soft peaks add the Flour mix 1/4 cup at a time, mixing on low to incorporate fully.
- Do not over beat
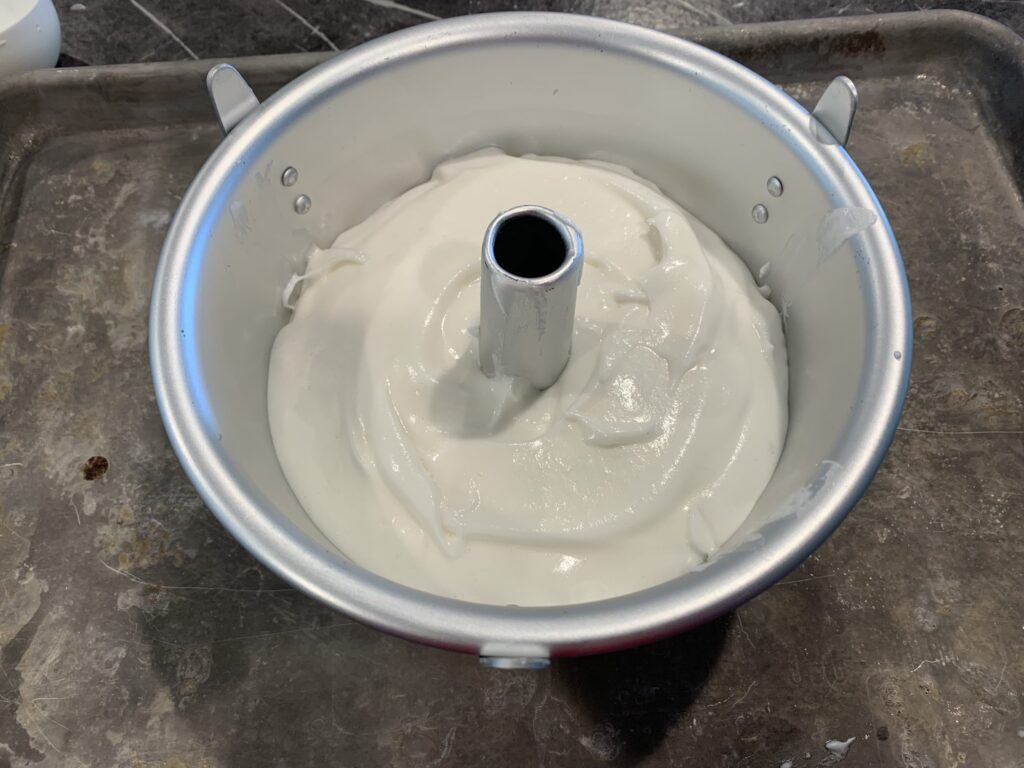
- Spoon gently into the Angel Food Cake pan.
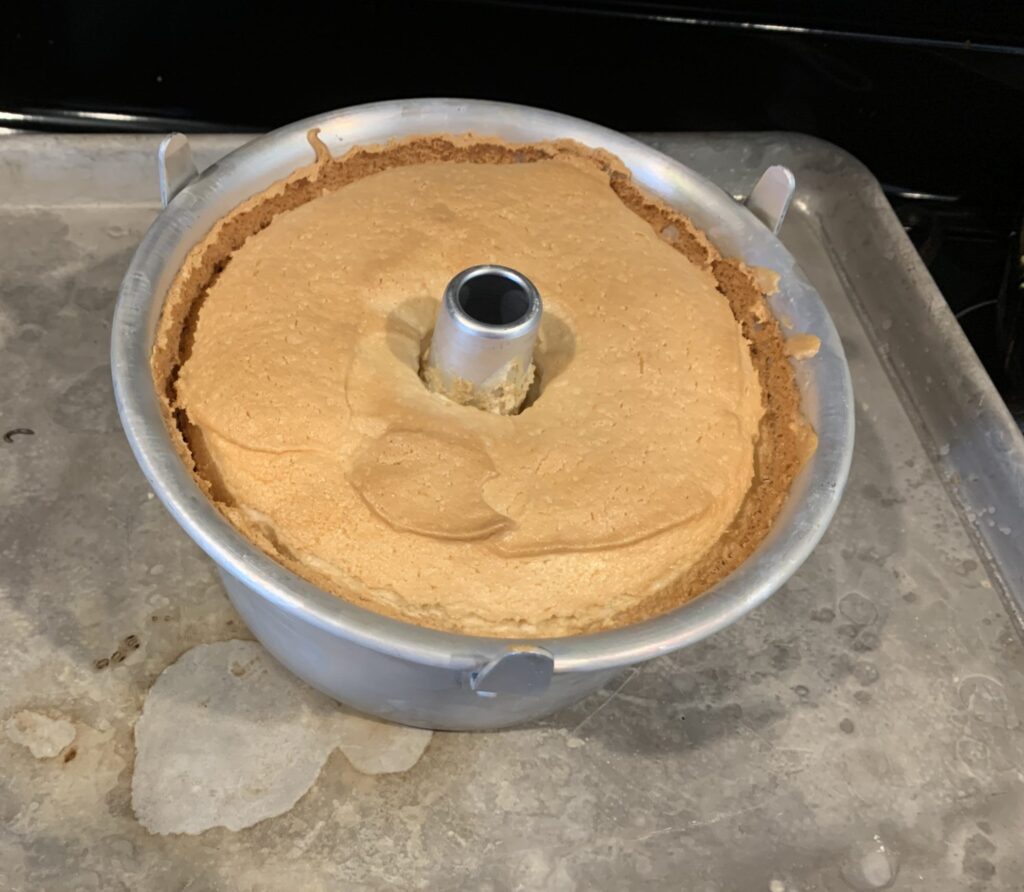
- For the 7" pans: Bake 30-35 minutes until golden brown and pulling away from the sides of the pan.
- For the 10" pan: Bake 40-50 minutes until golden brown and pulling away from the sides of the pan.
Notes
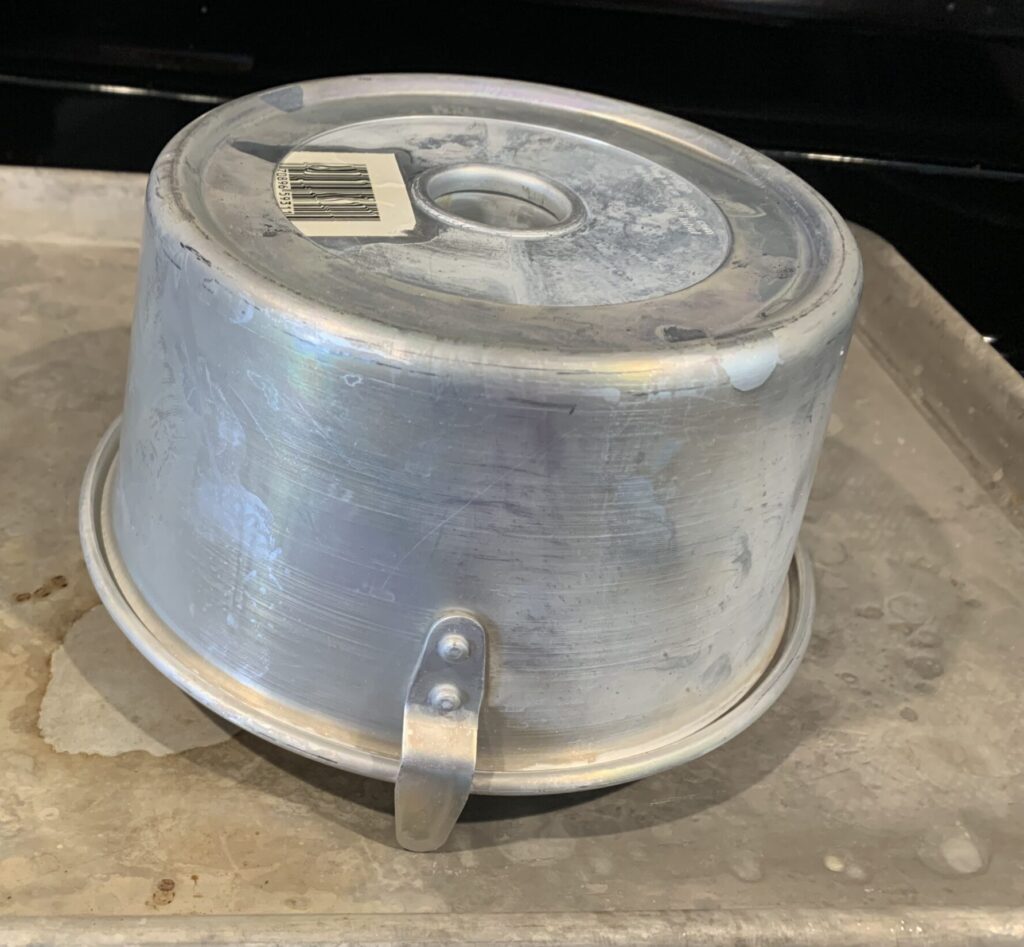
- When it is done baking: turn the cake pan upside down and let it cool for 2 hours
- Once cool: turn your cake back upright, run a thin knife or spatula along the inner and outer edges to loosen the cake from the pan.
- Remove the sidewalls from the angel food pan. Now you can gently turn the cake out of the pan and remove the parchment paper.
This is a fairly simple recipe for a gluten free angel food cake. It makes a beautiful, fluffy cake, and has baked up well every time I make it, despite my distractable personality. Rice flour is a fairly easy to find gluten free flour, and just about any starch will work with it.
SUBSTITUTIONS:
STARCH – I imagine any starch would work as a substitution for the potato starch. I have tried this with arrowroot powder and it turned out perfect. I can’t see a reason why corn starch or tapioca starch wouldn’t work.
SUGAR – Superfine sugar works best in this recipe, but if you don’t keep that on hand, you can make your own by pulsing regular sugar in a blender or food processor until it’s finely ground. You CAN use regular sugar (I have), but it may take longer for the meringue to form.
This could be made sugar free with the use of sugar substitutes. I’m allergic to most artificial sugars though, so I haven’t tested out a sugar free variety.
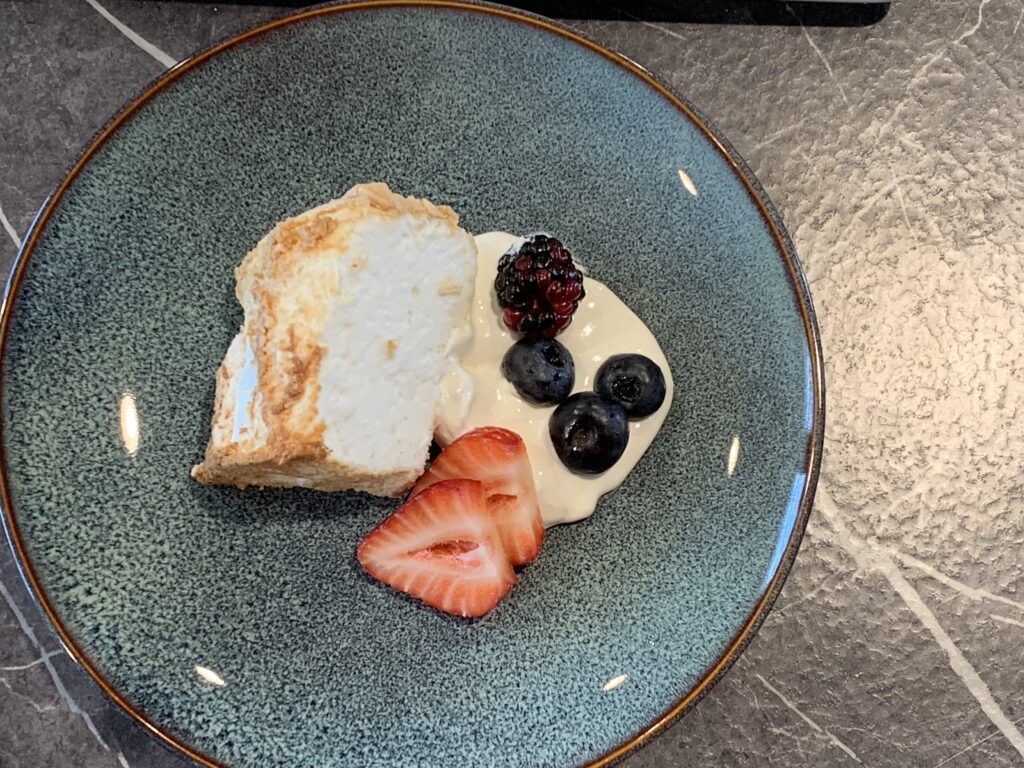
MAKING THE GLUTEN FREE ANGEL FOOD CAKE
Many years ago, when we still didn’t have an official diagnosis, my husband went off gluten. This was one of the first gluten-free treats we made for him. In fact, when I was selling baked goods at the local farmers’ market, this was the first item I offered for sale.
Like any angel food cake, every step is important to get the texture and fluffy rise just right. That being said, I am not the most attentive baker, and this recipe has withstood my laissez-faire attention span.
SUGAR
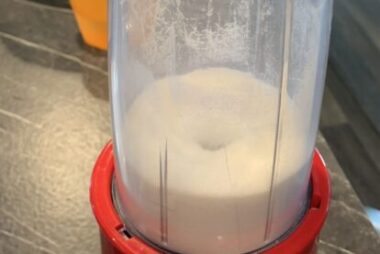
This recipe calls for superfine sugar. If you don’t keep that in stock, you can make a suitable replacement yourself by pulsing regular sugar in your blender or food processor until finely ground—I use my small rocket blender for this job. By breaking down the sugar into finer particles it helps the overall texture of the cake. Alternately, you CAN use regular sugar, but it will take longer for the egg whites to reach their required volume and the final texture of the cake won’t be as fine.
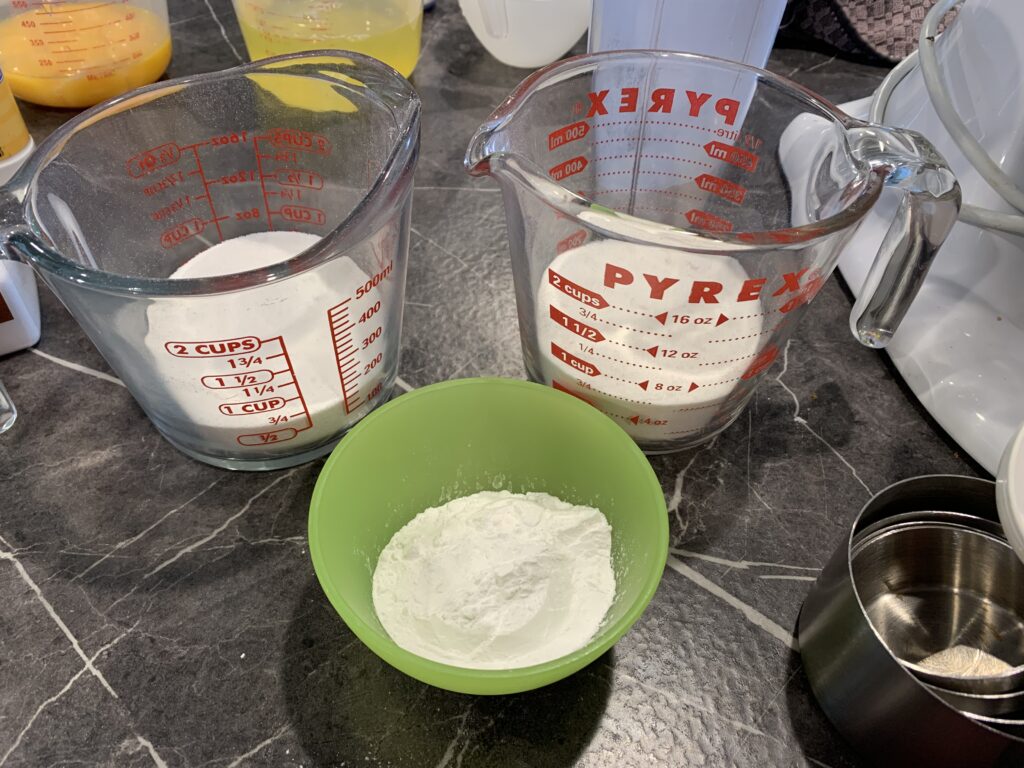
The flour for this recipe comes from a simple blend of white rice flour and potato starch. Arrowroot powder or cornstarch are acceptable substitutions for the potato starch, but I haven’t personally tried cornstarch—My husband is also sensitive to corn, so I don’t do much baking with cornstarch.
EGGS
No Angel Food Cake recipe can come together without egg whites. Unfortunately, this ingredient is not substitutable for something non-egg (that I know of). I typically buy a carton of egg whites when making this recipe because I don’t want to try to use up nearly a dozen egg yolks. If you are separating your eggs by hand, cold eggs separate easier than warm eggs, and be very careful not to get egg yolk into your egg whites. However, warm eggs beat up fluffier and lighter than cold eggs, so if you can, let your egg whites come to room temperature before whisking.
EXTRACTS
The cream of tartar is a small but important part of this recipe. It helps stabilize the tiny air bubbles in the egg whites, which speeds up the whipping process and creates a stable, glossy meringue—a very important part of Angel Food Cake.
My recipe also calls for vanilla extract and almond extract. The almond extract is an optional ingredient, so if you are sensitive to nuts, you can leave it out. Since our house doesn’t yet have a problem with nuts, I always add it because I like the subtle flavoring it adds to the finished cake.
SUPPLIES
Successful cakes start with a very clean mixing bowl. The smallest amount of fat or egg yolk will stop your egg whites from becoming thick and foamy.
Also, using a stand mixer with a whisk attachment will save you a lot of time. I don’t whisk much of anything by hand, but it can be done with a lot of time, energy, and effort—things I don’t have an overabundance of.
The start of the recipe calls for sifting AND whisking the dry ingredients. Both steps are important to the success of the cake. You’ll mix the flour, starch, and part of the sugar together using a whisk to stir them. Whisking will help everything combine happily and put a little air into your flour mix. You don’t want dense flour—dense flour makes for dense cake.
If you don’t have a sifter, just use a fine mesh strainer. Just pour a little of the mix at a time into the strainer and tap it against the side of your hand until all the particles fall through (make sure you do this whole process over a bowl, so you don’t just dump flour and sugar everywhere—trust me on this one). Repeat the process until all the flour/starch/sugar has gone through the strainer. You’ll set aside the bowl of whisked and sifted flour, mix and move on to the eggs.
MIXING THE GLUTEN FREE ANGEL FOOD CAKE
Here’s where you will use your clean, grease-free bowl. The egg whites, salt, and cream of tartar go in together. Whisk (hopefully in your stand mixer) until foamy. From there, you add the flavoring extracts and keep beating away at those egg whites. Eventually, they will increase in volume and thickness. At this point, you’ll gradually add the remainder of your superfine sugar (or whatever sugar you are using) and beat until your meringue holds soft peaks.
Don’t over-whip your eggs. You want soft peaks, which means that when you test your meringue, the peaks will slump over at their peaks. Other recipes might call for stiff peaks, but staying at the soft-peak stage will allow the air in the egg whites to expand during baking without rupturing.
Once you’ve reached soft-peak stage, you will “fold” in your dry ingredients. You can do this without changing your equipment. Slow down your mixer and add the flour mixture a bit at a time until it is all incorporated. Scrape the sides of the bowl a few times to make sure it all gets mixed in nicely.
BAKING THE GLUTEN FREE ANGEL FOOD CAKE
DO NOT grease your angel food pan. You can use one 10” pan or two 7” pans. The cake batter uses the walls of the pan to climb/rise. If your pan is greased, the batter can’t latch on and climb up, thereby making a sad unrisen cake. Don’t make sad cakes; don’t grease your pan. I do like to line the very bottom of my pans with parchment paper to help the cake release easier from the pan. This step isn’t necessary and the cake will release with only a little encouragement from an unlined pan.
I have made cupcakes out of this recipe before, but they are tricky to get right—over-baking causes them to shrivel and become much smaller as they cool. But even with getting the bake time right, they often have hidden air pockets at the bottom.
Be gentle with your cake batter. You don’t want to burst the air bubbles inside the whipped egg whites. That being said, once you spoon your batter into your pan(s) you will want to tap the pan against the counter to remove any LARGE air bubbles formed by spooning the batter.
COOLING AND SERVING
When it is done baking, you’ll turn the cake pan upside down and let it cool for 2 hours this way. If your angel food cake pans don’t have the little pegs on the rim, you can use a heat proof bottle or funnel inserted into the center of the angel food cake pan to hold it up.
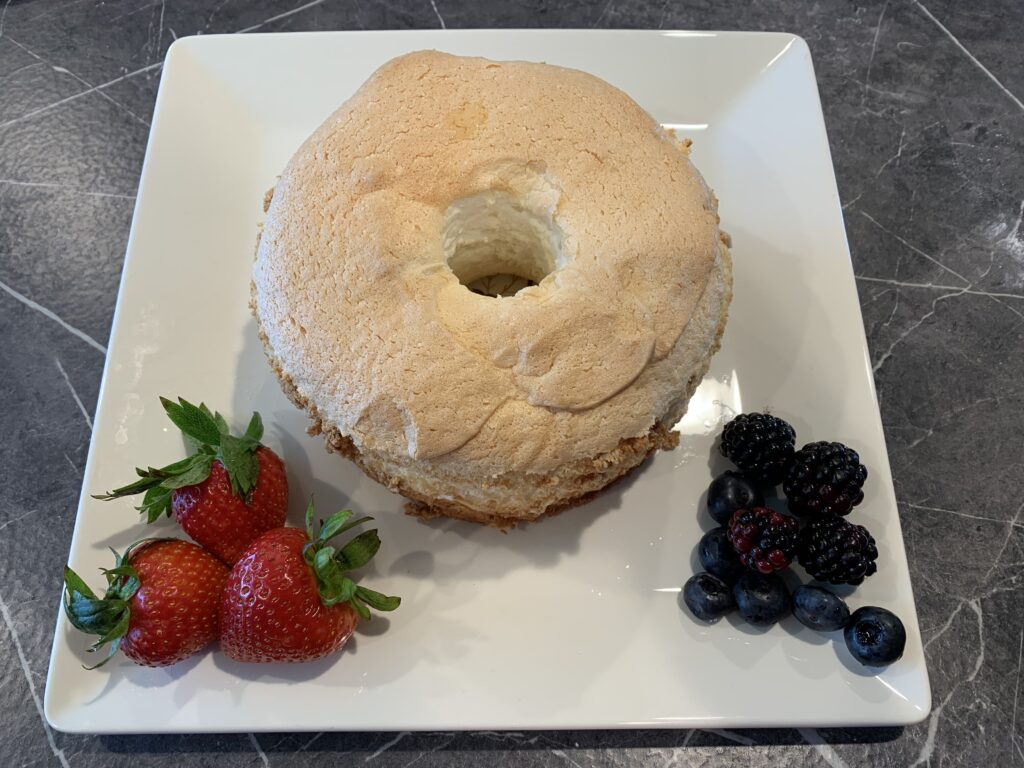
Once cool, you’ll turn your cake back upright and run a thin knife or spatula along the inner and outer edges to loosen the cake from the pan. Remove the sidewalls from the angel food pan. Now you can gently turn the cake out of the pan and remove the parchment paper. I then invert my cake one last time onto my cake plate so that the baked top is facing up.
Cut the cake with a serrated knife, but don’t use a heavy hand when cutting. Gently saw the knife back and forth, letting the weight of the knife do the work. If it becomes difficult to cut, you can wash the knife between slices, drying thoroughly before slicing again.
I like to serve my gluten free angel food cake with fresh fruit and whipped cream. You can find my recipe for homemade whipped cream HERE.
Rachel
Sarah